In early October, I was looking for something to do. I had just found an ESP8266 in my drawer, bought a few years ago but never really used. I then had fun installing WLED, a software controller for … LEDs. The WLED community was talking about individually addressable LEDs. I’d already installed LED strips under my eaves, which gave a great effect with midnight blue lighting… at night. But never individually addressable strips. My existing strips were beginning to give up, with quite a few LEDs burnt out, so I decided to buy two new 5m strips of these individually addressable LEDs, at 60 LEDs per meter, juqst to give it a try.
Once the two strips were connected to my ESP8266, I discovered quite a few cool effects, but they were hard to use on a daily basis. And then, as I dug a little deeper into the use of LEDs, I discovered a community of geek enthusiasts that I’d completely overlooked. That of light show fans.
For me, a light show was something very exciting but not very beautiful, with people buying dozens of colorful lights for the holiday season and installing them on the front of their houses. Not very controllable, I’d never really wanted to get into it. But the type of light show I discovered, based on individually controllable LEDs, blends several rather technical disciplines that a geek like me would enjoy, from building your own props, some of which being 3D printed, power calculation, amperage and cable sections to be used to power the LEDs and maintain constant lighting (and avoid to catch fire), to the programming of the sequences itself, automated with various software programs networked and connected to a home automation system.
Megatree Howto
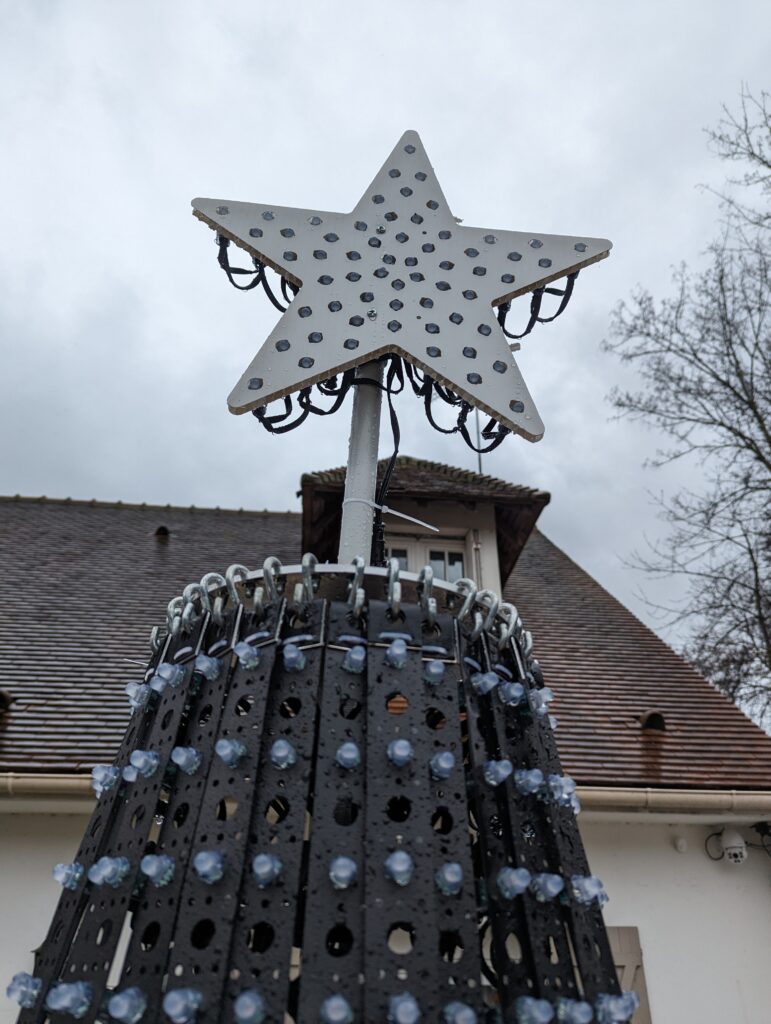
Among these ‘props’, one immediately jumped out at me. The Megatree. Certainly one of the most beautiful light show structures, among the most pleasant to build, but also the most technical. A megatree consists of a base, a mast, a topper and plastic strips into which the pixel LEDs (bullet-shaped LEDs 12mm in diameter) are clipped.
Main structure
Obviously, I did a lot of research. I gathered a lot of inspiration on Youtube. It was mid-October, and if I wanted a Megatree for the festive season, I had to move fast.
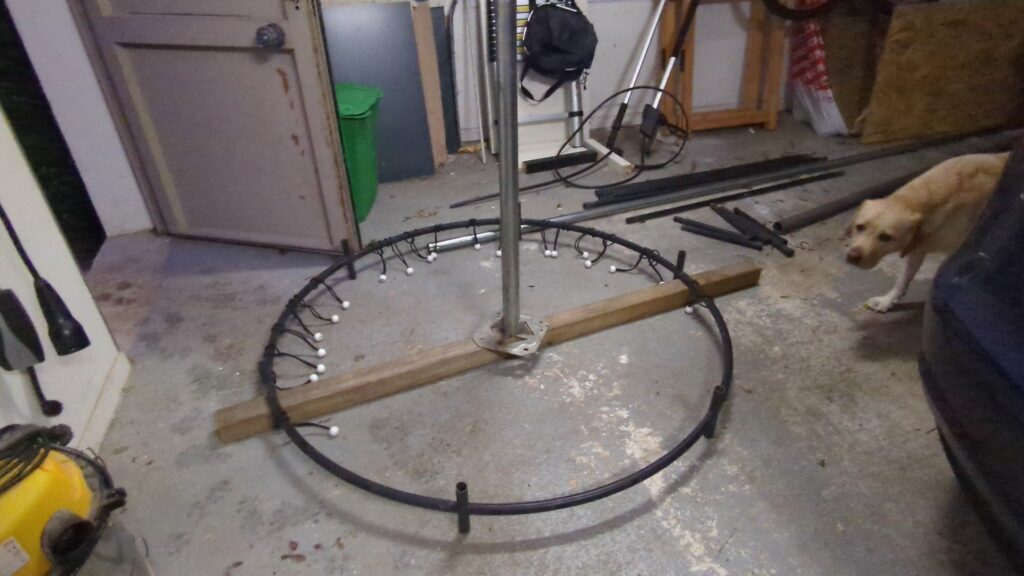
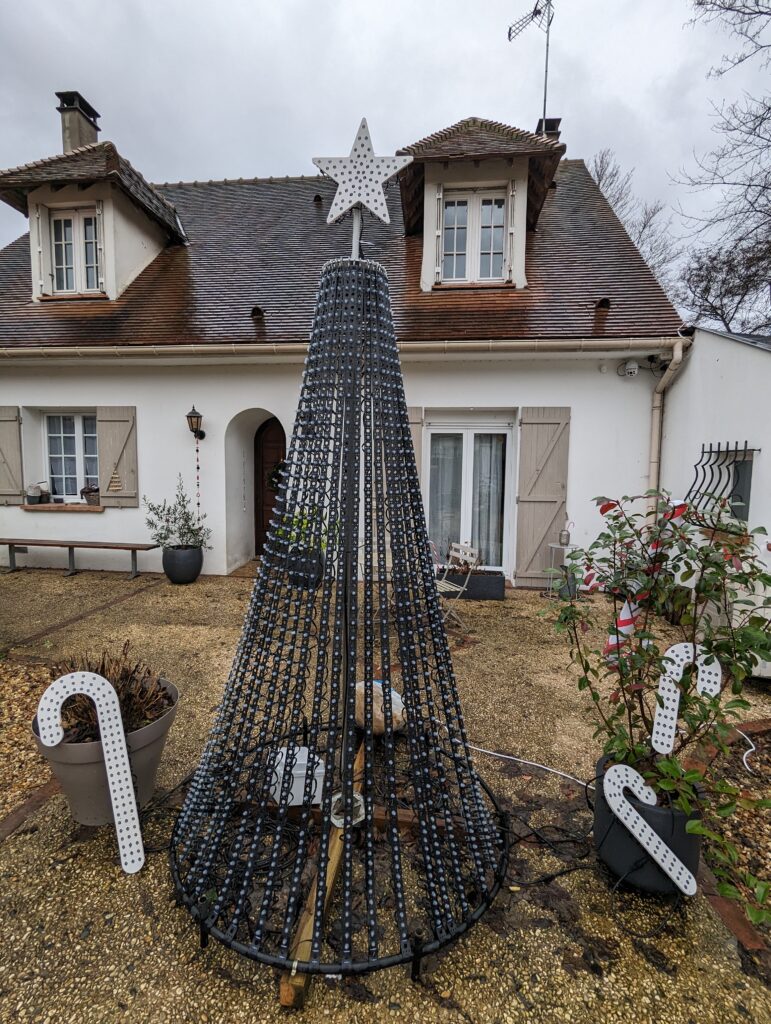
First, the structure. It would be a 180-degree Megatree, about 2m50 high with a base of 1m50 to 2m. Obviously, it had to be able to support at least 1000 LEDs spread over 20 strips of 50 LEDs each (more on this later). It didn’t took me long to find someone on a classified ads website , two blocks from my house, who was getting rid of two antenna masts. 2x 2m steel, solid. Ideal for outdoor use, with little risk of rust. He was also selling a 1M support which wasn’t really suitable. But, with a bit of force, the mast went in and offered something stable. I got the whole thing for 20 euros.
I also had to think about the base that would support the strips. Initially, I thought for a main base made of plastic tubes glued together and softened with a heat gun. My technique was to soften the plastic tube by filling it with sand baked at 280°C. I tried, but the result was far from being satisfactory: the plastic tube bent too much. And I don’t think the result would have been strong enough. So I settled on a 1.50 m diameter trampoline base, also found on a classified ads website, from which I recovered the circular metal structure.
The topper
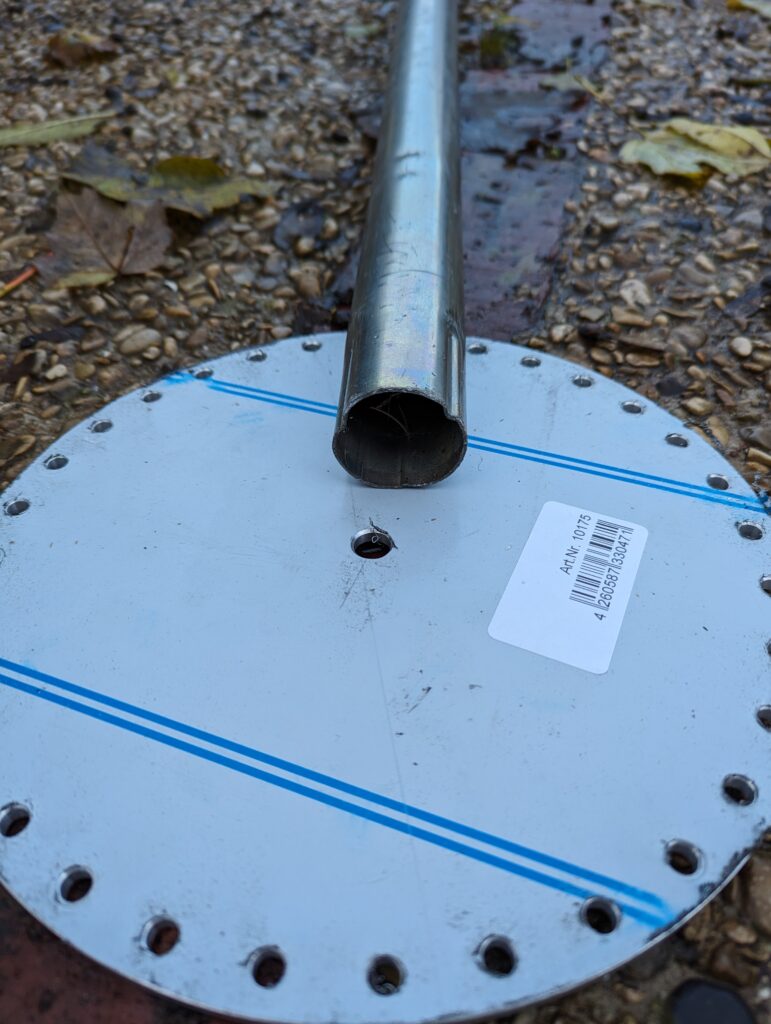
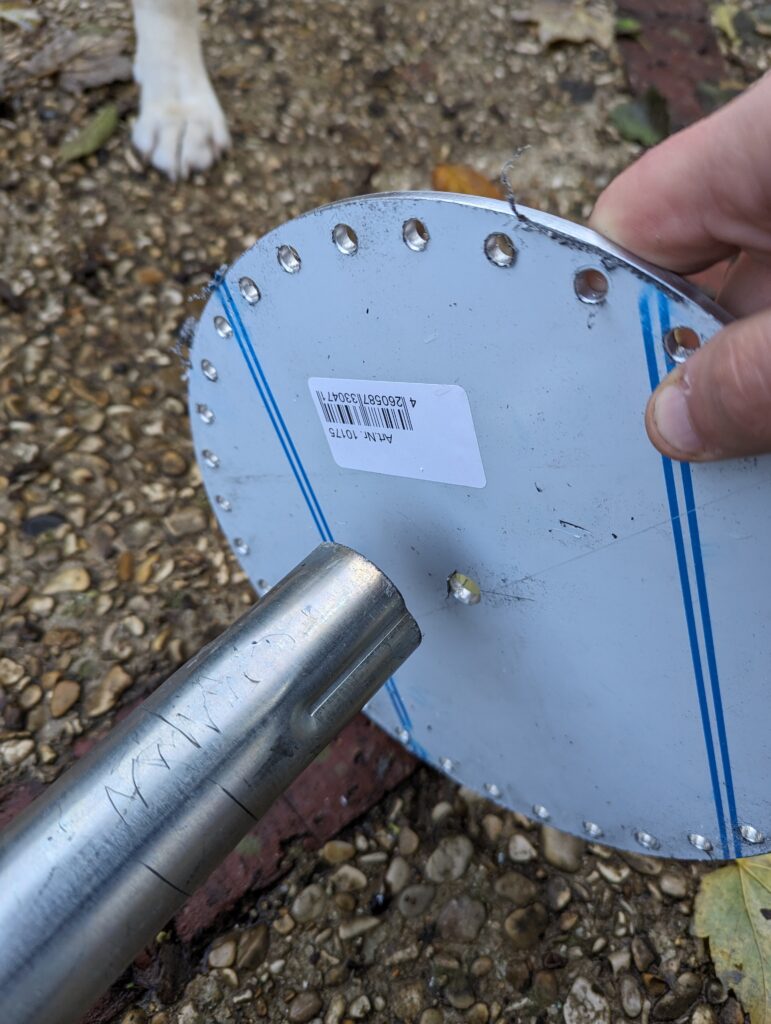
For the topper, the steel part supporting the top of the Megatree, I found a supplier in Germany. This is by far the most expensive part, costing me around fifty euros. It is made with about 50 holes that will accommodate the plastic LED strip holders.
The part, with a 10mm hole in its center, is placed on top of the antenna mast. Yes, except… This was certainly the step that caused me the most difficulty. I couldn’t find a part that would fit easily into the mast and into which a threaded rod could be fixed to hang the topper.
Either I could get my hands on a 3D printer, but I don’t have one. Or… I had to weld a fitting. So I found a round-base nut with an M10 (10mm) thread on Amazon, which I welded (well, had welded, by a pro). The operation wasn’t easy. Welding galvanized steel onto anodized steel requires preparation that gives off toxic fumes. This cost a few dozen euros out of the total budget.
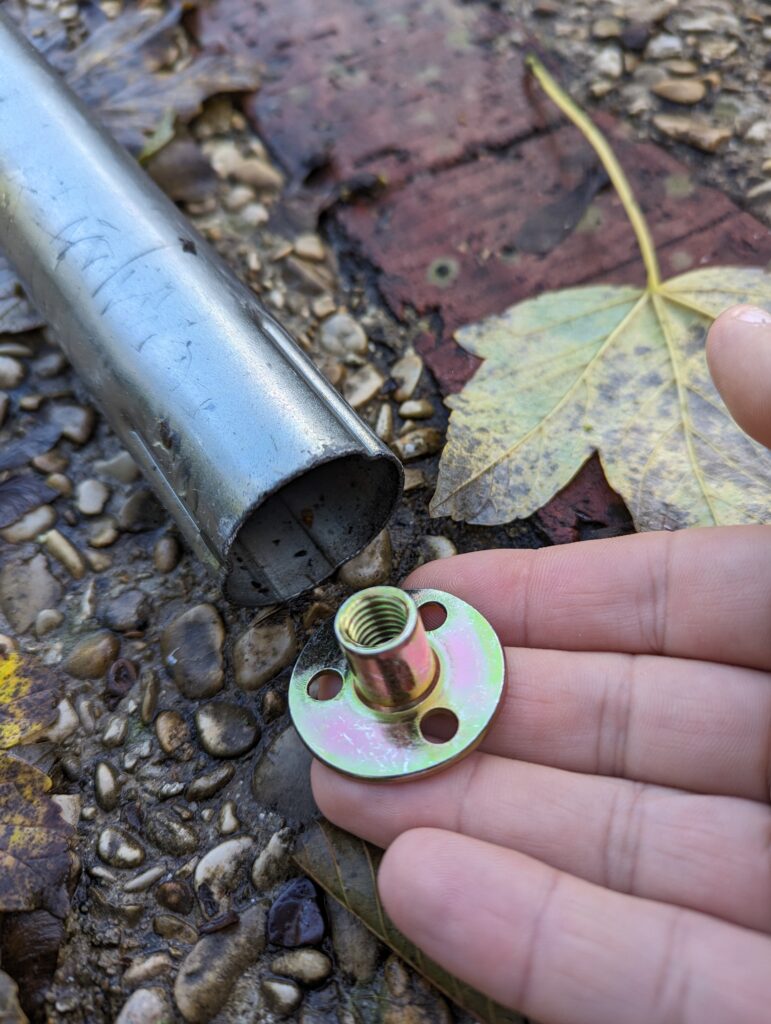

I was then able to connect the topper to the top of the mast with a threaded rod inserted in this part. I used an electric PVC tube inserted in the threaded rod to hang the star on the top.
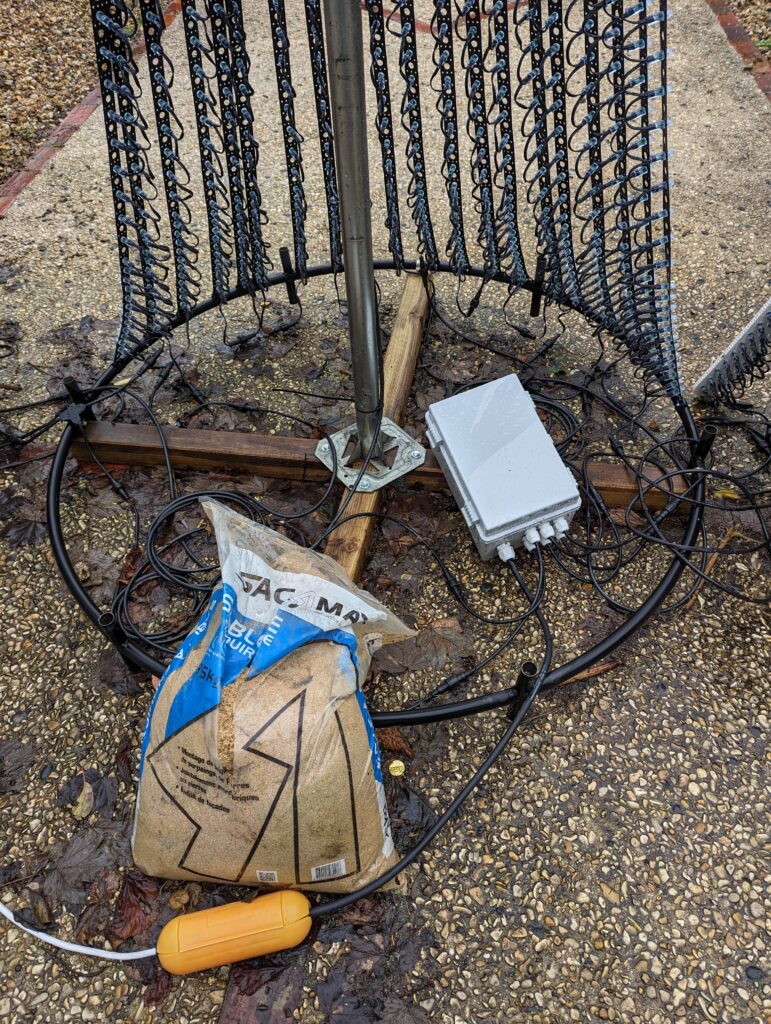
Once done I fixed it securely to a structure of wooden poles installed in a cross pattern, so that the support would be stable and hard enough. The weight of the LEDs tilted the Megatree forward, so I weighted the rear with a sandbag to prevent it from tipping over in the wind.
Pixels pushing and electronics
Next came the assembly of the pixels in the mounting strips. I bought the pixels – those famous 12V LEDs – from Aliexpress, direct from the factory. They arrived in barely two weeks, in mid-November.
The plastic strips are pretty solid. The ones I bought have 98 holes. I chose to use 20 strips of 2.45m across the 180° of the Megatree and to fix 50 LEDs in each one (the light strips are made of 50 LEDs). We have to push 1000 LEDs into the 1000 holes in the plastic strips. It’s a hard and long job. Especially in the middle of winter, when it’s 5 degrees outside. These strips are then stretched between the topper and the trampoline structure. There are several pitfalls to be avoided at this stage, such as… installing the lights the right way round. Remember your high school classes: with an LED, current only flows in one direction. Or don’t miss a hole, otherwise you’ll have to undo everything in order to redo it.
Then there’s all the control and power electronics. The power supply, 12V 30A on Amazon, and a Dig Quad controller. I could have used an ESP8266 or a « naked » ESP32, but the Dig Quad is a specially designed board with a lot of power protection to avoid any fire.
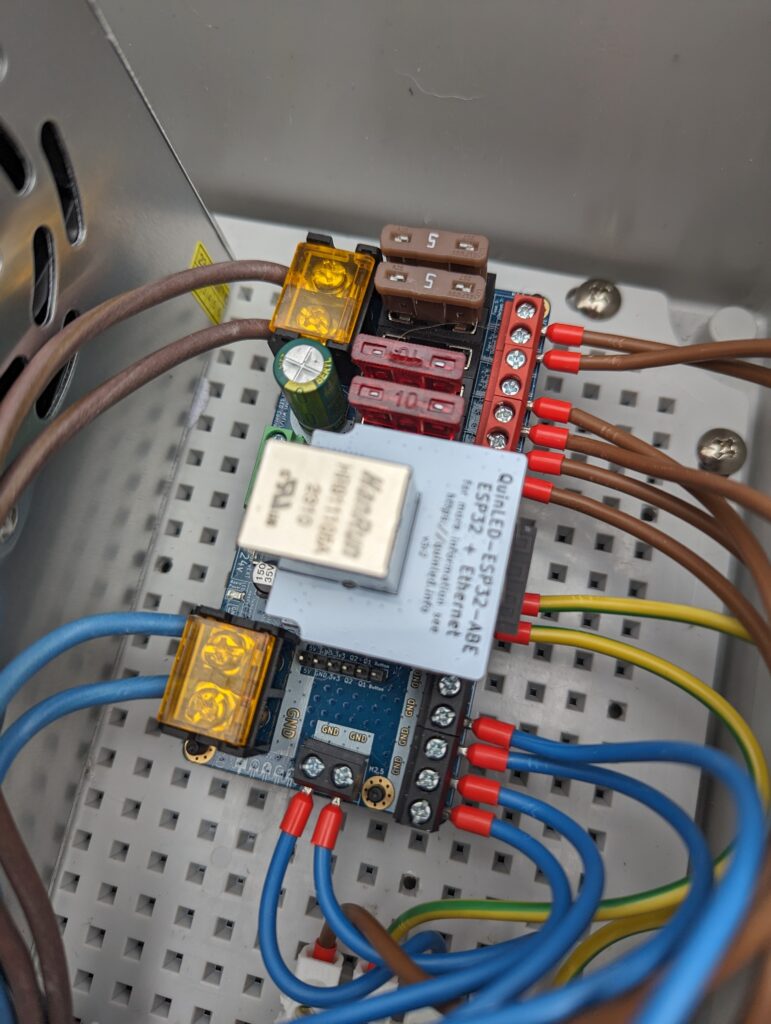
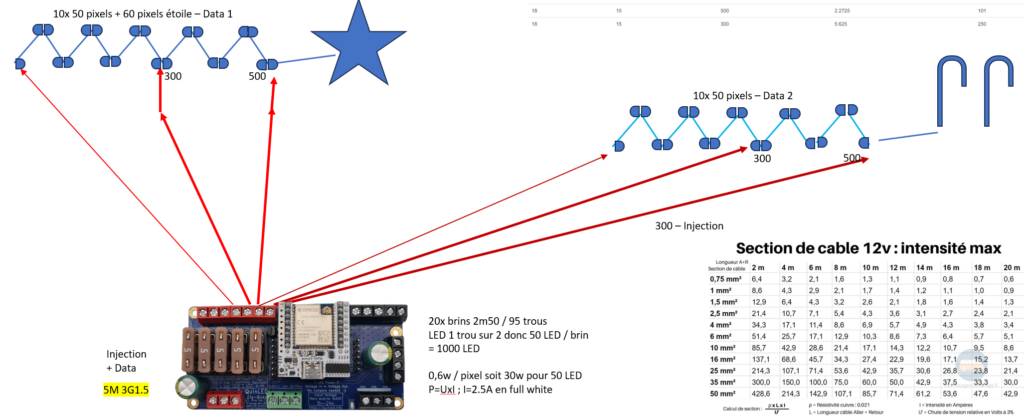
Above, the 5A and 10A fuses on the 4 power lines I use.
If I have one piece of advice to give here, it’s to treat yourself. Take the time to do things right. Good cable management, the visual satisfaction of seeing the cables more or less tidily arranged than a plate of spaghetti, also plays a part in the success of the project. A poorly connected cable can quickly lead to unexpected consequences. During a test of my Megatree, part of it went dead. When I opened the watertight box in which I had placed the power supply and controller, I noticed that some cables were starting to smell really burnt. The result was two blown fuses (10 A and 5 A). Without them, the result would have been… different 🔥
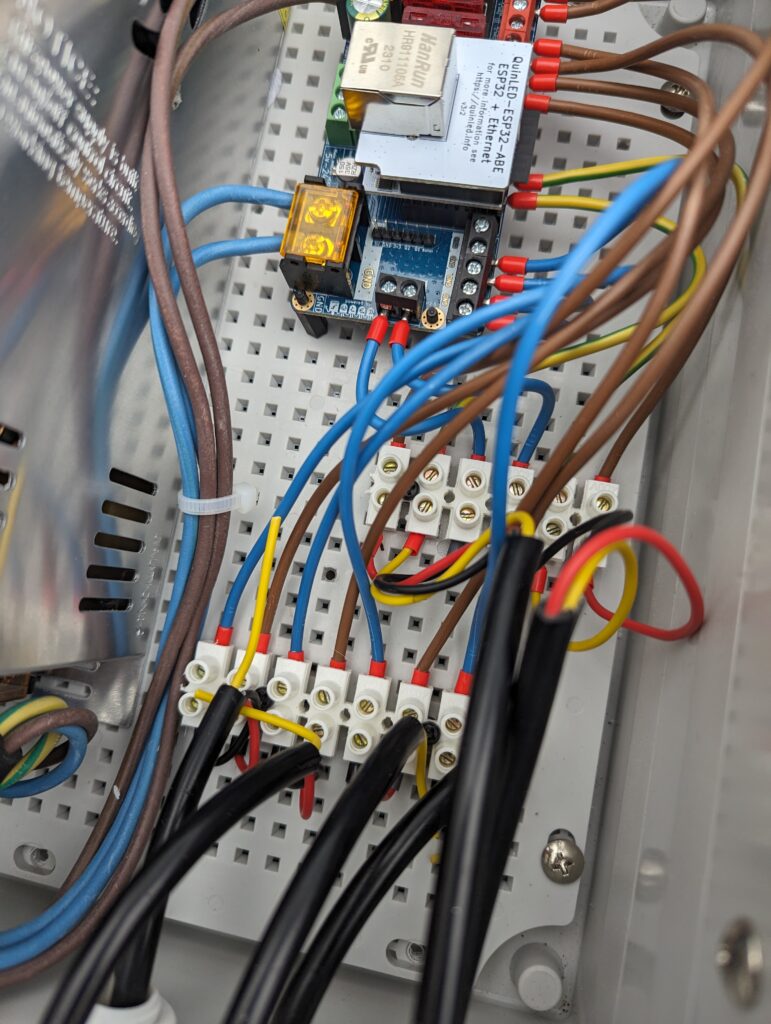
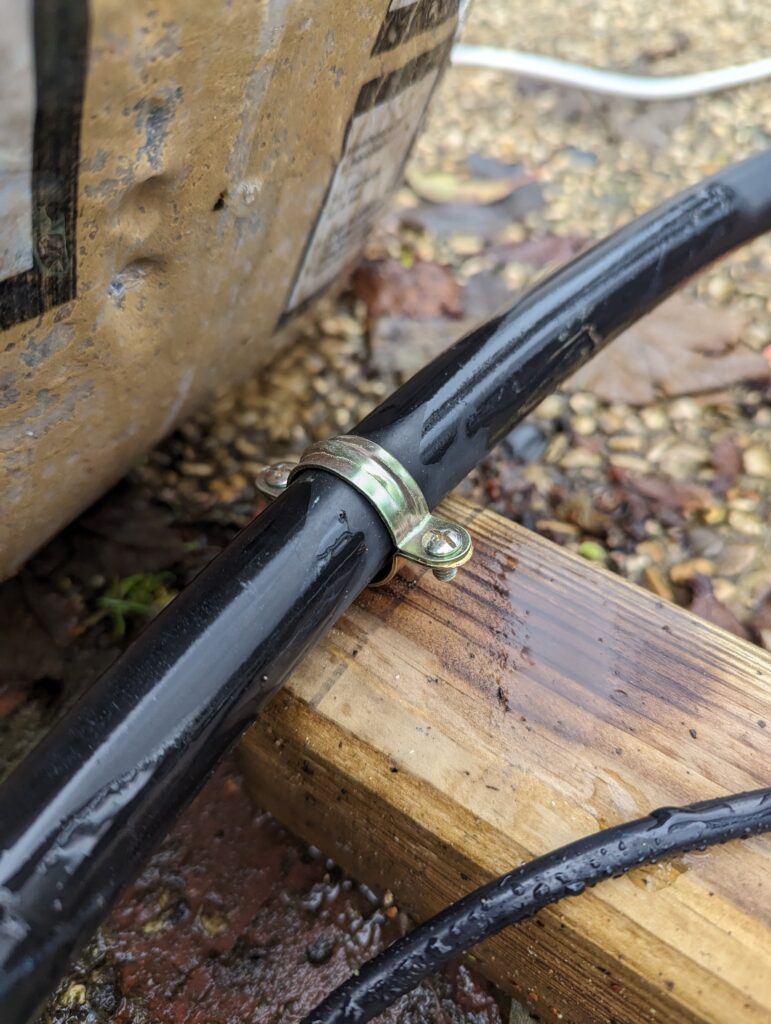
On the right, two power + DATA lines. On the left, four power injection lines.
Once the waterproof Megatree controller box was complete, I had to work out the best way to wire the power circuits. U = R x I. Too much power delivered on a single cable means too much overheating and a fire. Too little and the LEDs at the end of the circuit lose their brightness. Cable cross-section is also an important parameter. Too many amperes on a small cross-section cable, even at 12V, means overheating and fire.
Test run before the show !
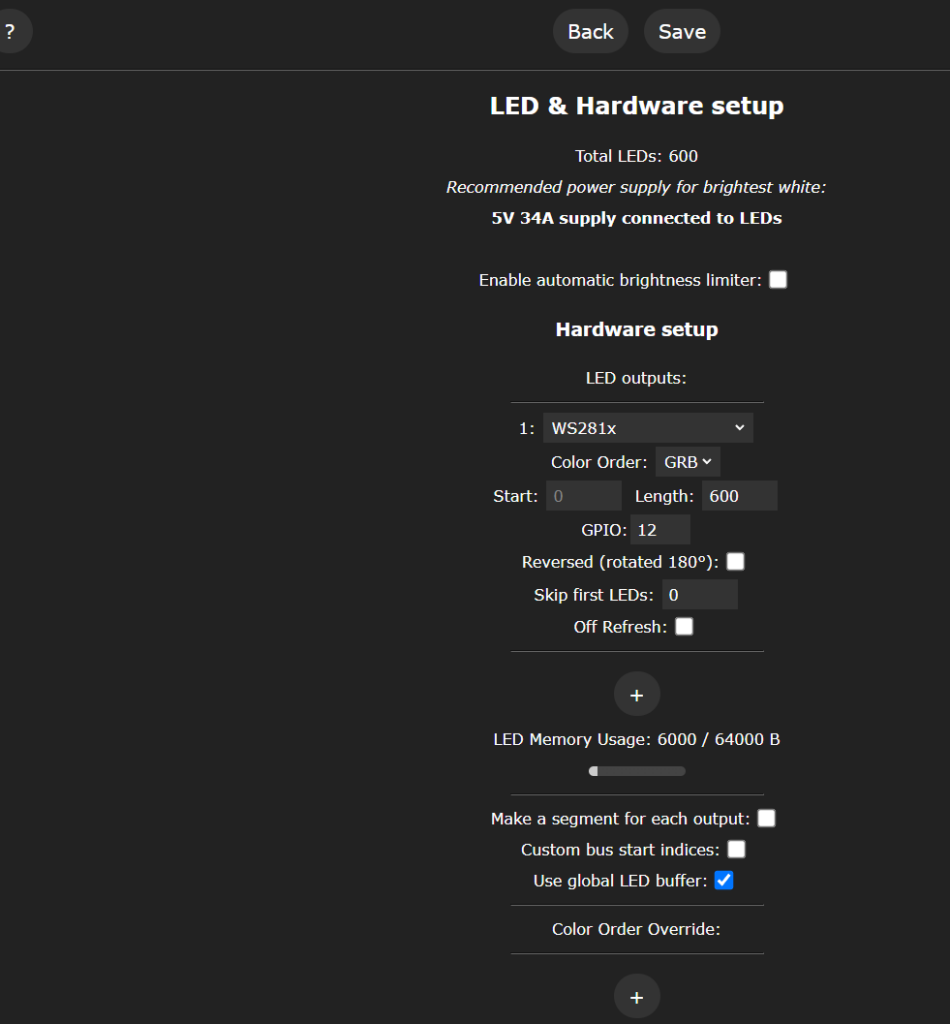
Once everything is connected, plugged in, checked, re-checked, re-re, checked, it’s time to plug in the Megatree. The WLED interface is very intuitive. I took the time to configure WLED before all the sockets were connected to the Megatree. Number of LEDs, channels, color type, power limiter, etc.. And to set the brightness to a low value.
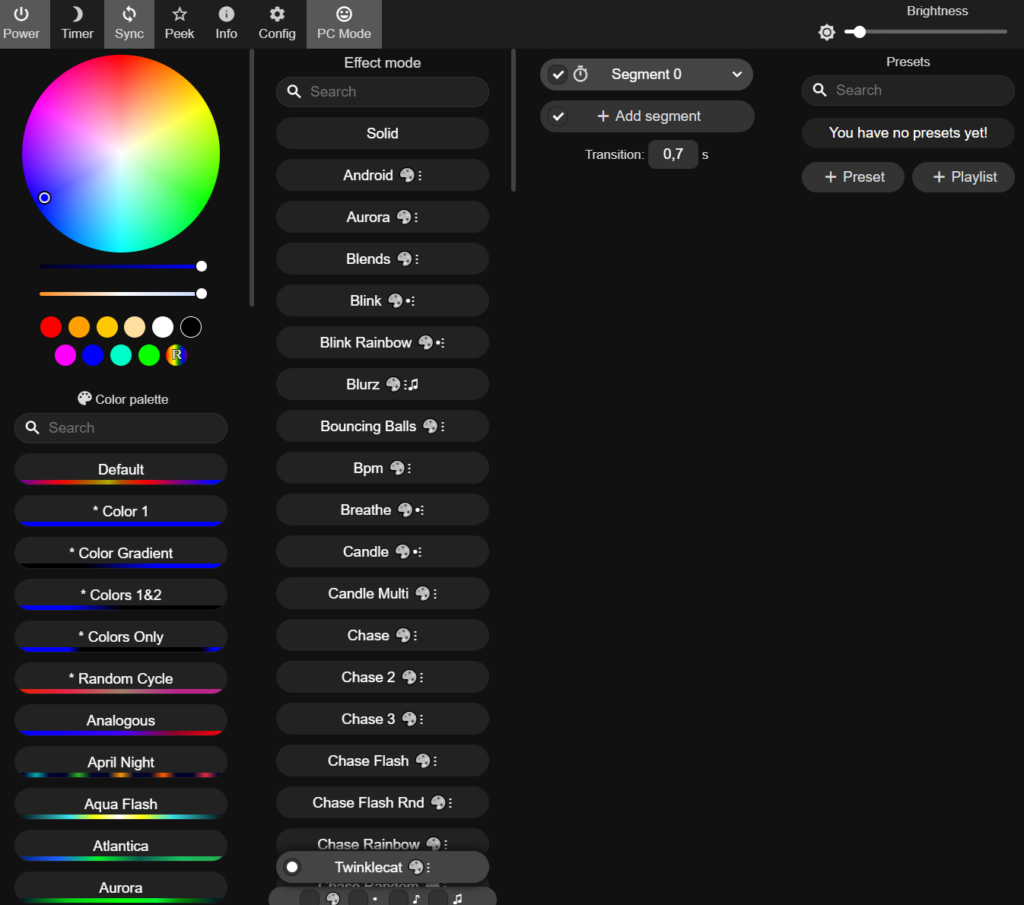
Et voilà !
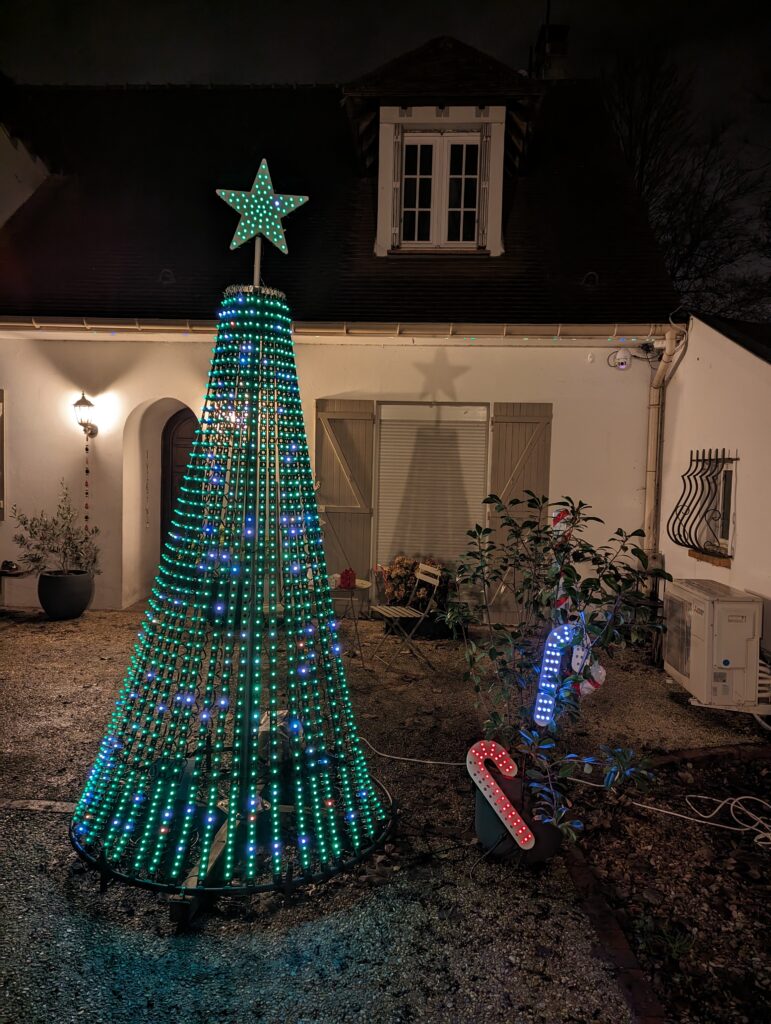
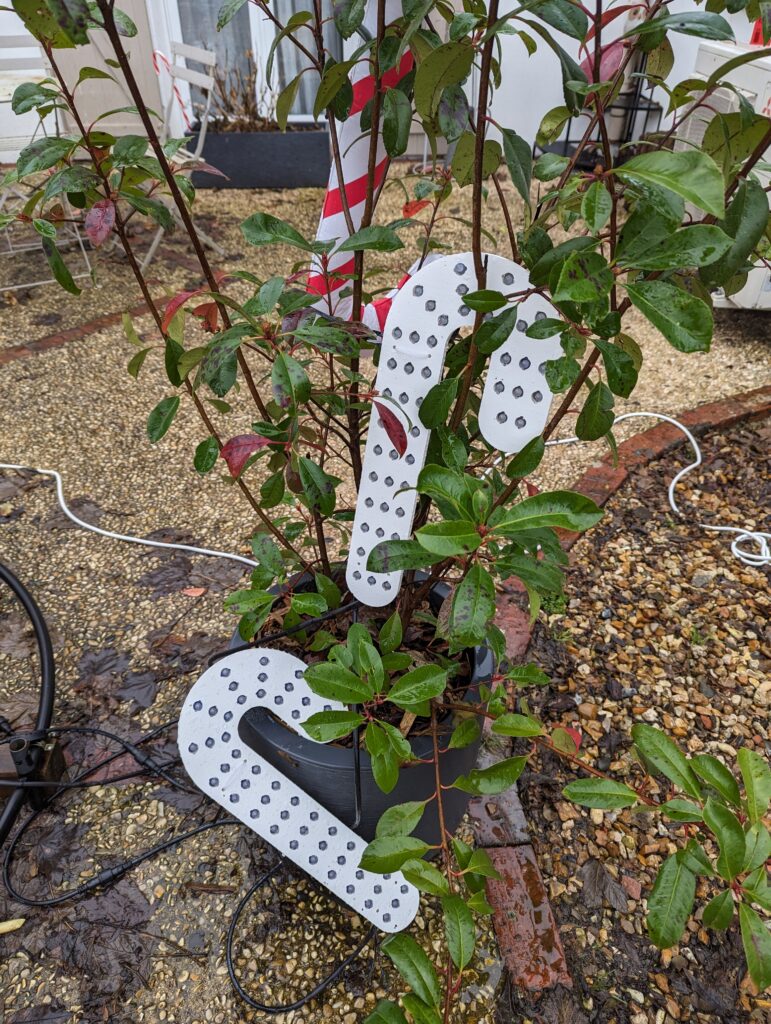
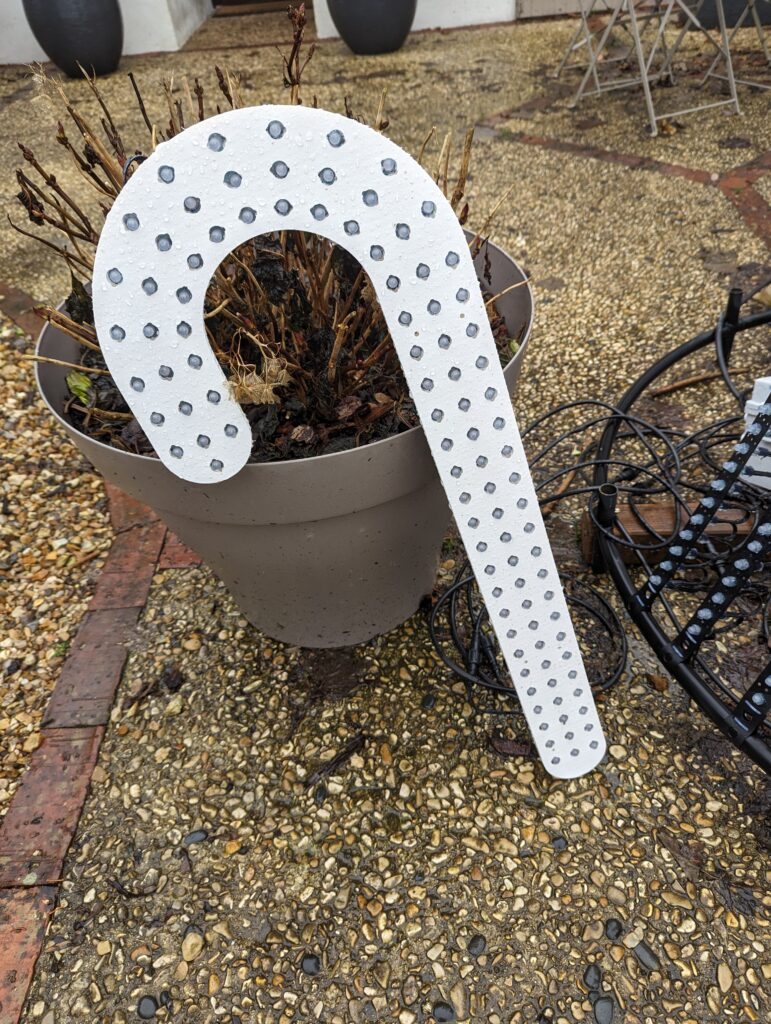
The result is really great. This year, in addition to the Megatree, I had 4 « props »: a star, and three candy canes for a total of 260 LEDs on top of the Megatree’s 1000. And that’s not counting the 600 LED strip installed under my eaves.
Take-aways !
If you’re tempted by the idea of a megatree for next Christmas, first use the Megatree Calculator, which gives the basics of what a megatree will be like: power requirements, recommended number of injection points, etc.
This site also helped me a lot. It allows you to fine-tune the positioning of the power injection points and to determine for each point what its current will be, and to deduce the type of fuse to use.

Also, take the time to draw diagrams and take notes. For my part, I’ve put a lot of ideas down on Powerpoint.
